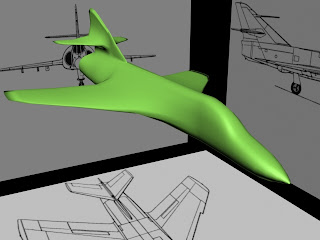
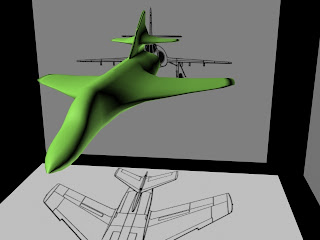
To start creating the jet I first set up the blueprints. I then created a simple box and then converted it to editable poly. I then made a cut through the middle of the box, doing this gave me an extra edge through the middle of the box. After that I selected half of the box up to the cut I made and deleted the half. This left me with just half of a box. I then applied the symmetry modifier and flipped it on the 'Z' axis. Doing this mirrored the box.
As you can see above I started extruding the edges and started editing the vertices to give the basic shape of the wing and centre of the jet. Switching viewports from time to time made it easier for me to get this basic shape.

The screenshot on the left shows the basic shape of the jets wing which I modelled earlier. As you can see the symmetry modifier mirrors the object so it is a full a model.

After modelling the wing I made a start on the front end of the jet and near enough finished modelling it. I used the same method and tools as the wing.
I found that turning the symmetry modifier on and looking at the perspective viewport from time to time makes it easier for when modelling something because it gives you a rough idea of how the model is looking and how each time you edit something it shows the difference.
This screenshot is the jet when turbo smooth modifier is applied.


The two images on the left show the Jet with Turbo Smooth modifier applied to it. The difference between these two images and the others is that in these I have created the wings at the back of the Jet. These wings were created using the same methods and tools as before.


No comments:
Post a Comment